- TOSIZE.fr
- Do it yourself
- DIY Projects
DIY cupboard doors under sloping roof with primed MDF, by Gijs
DIY cupboard doors under sloping roof with primed MDF, by Gijs
Create this project yourself with sheet material cut to size by TOSIZE.fr!
Gijs
Above average
2 minutes
Description by Gijs
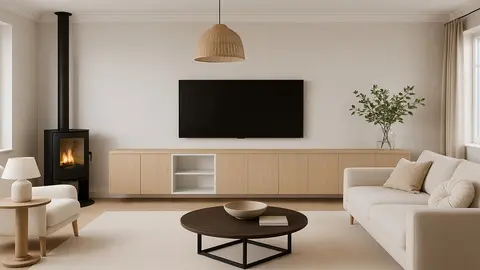
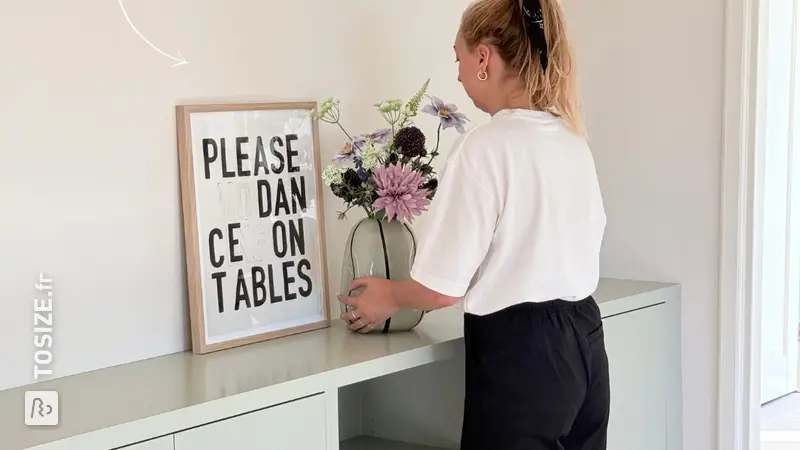
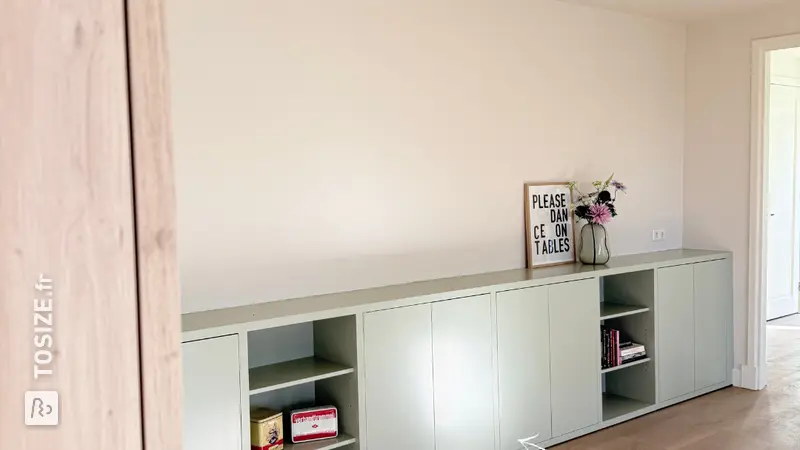
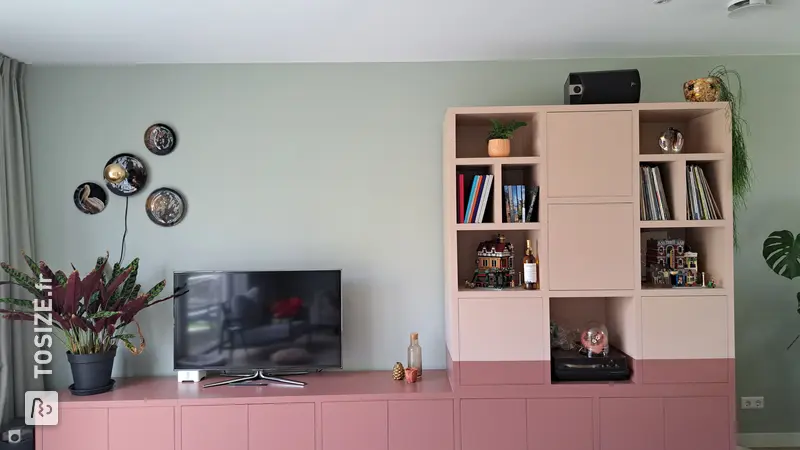
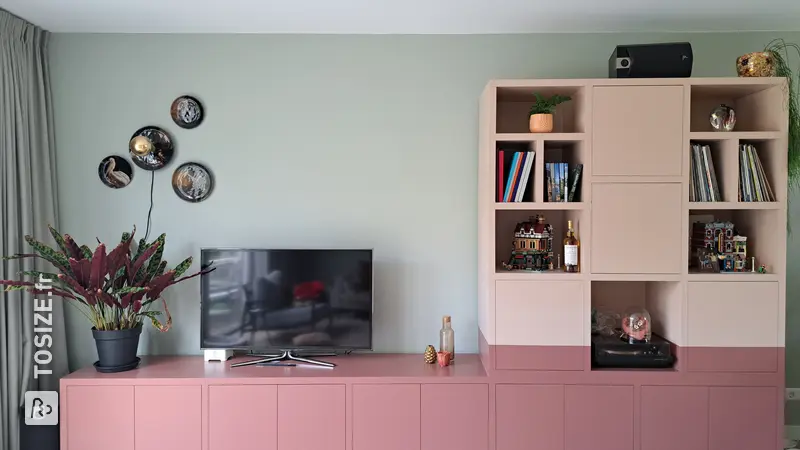
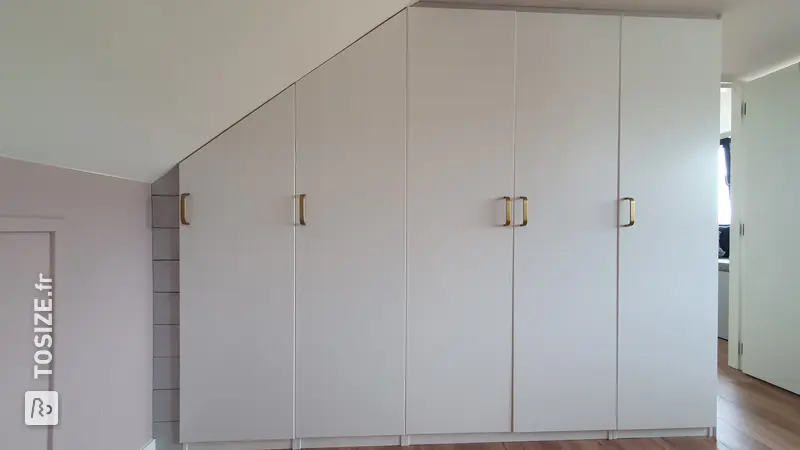
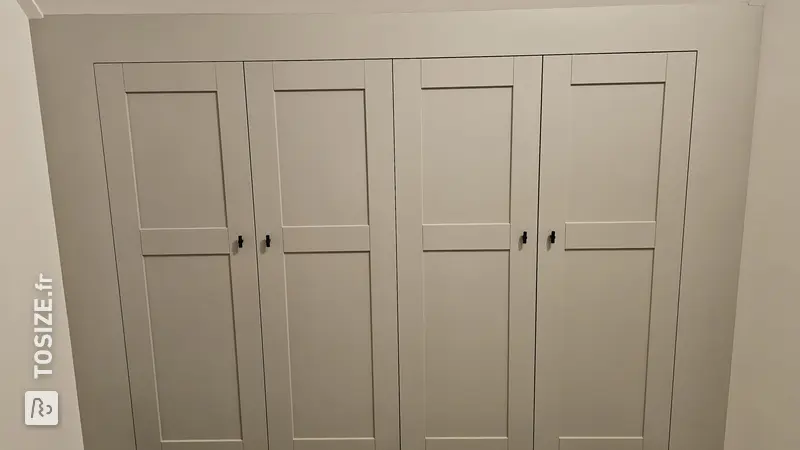
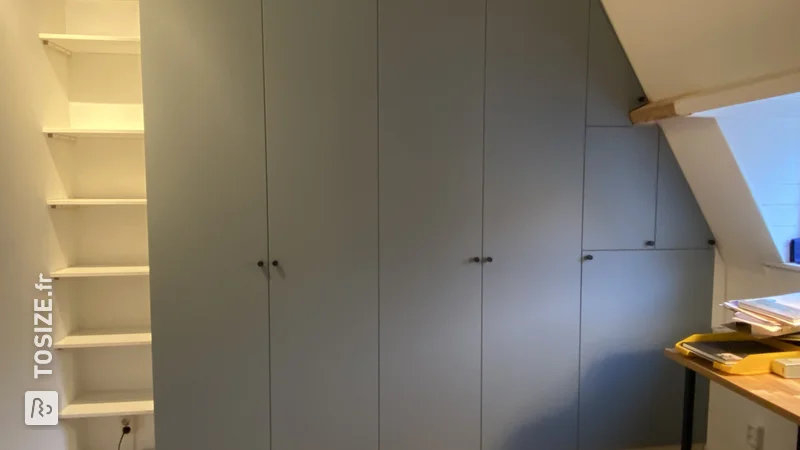
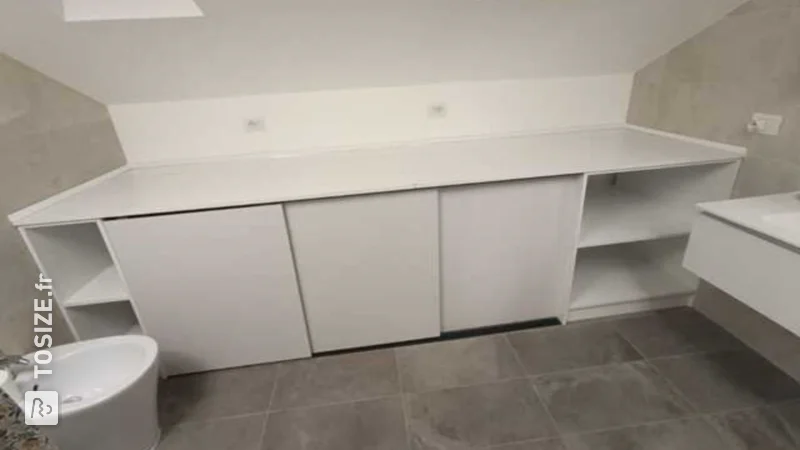
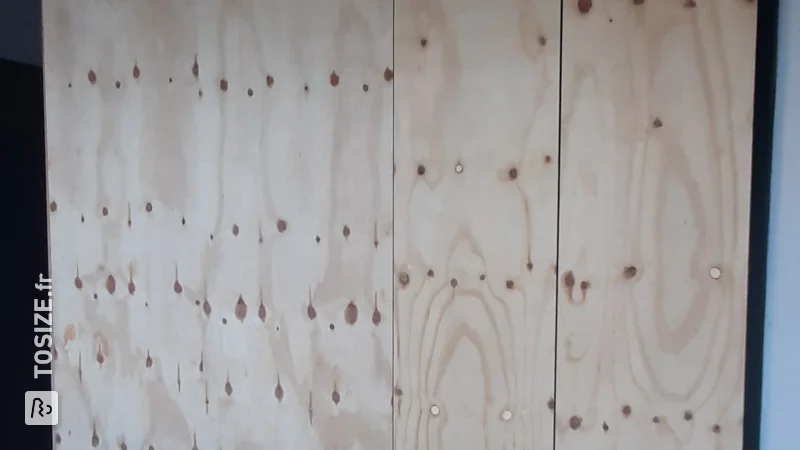
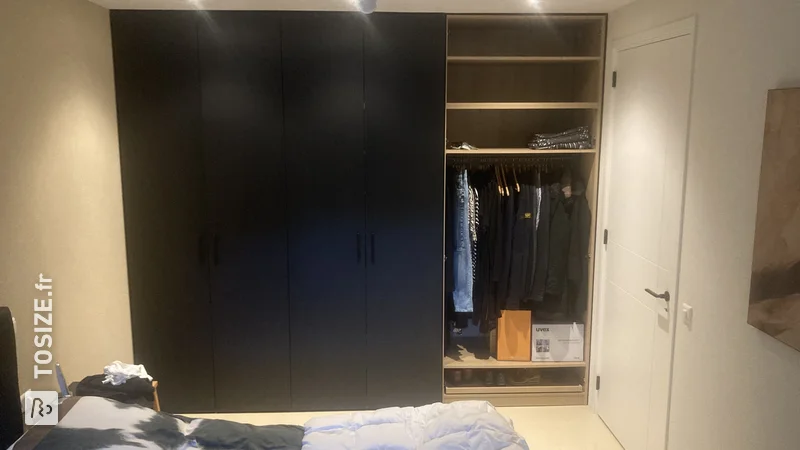
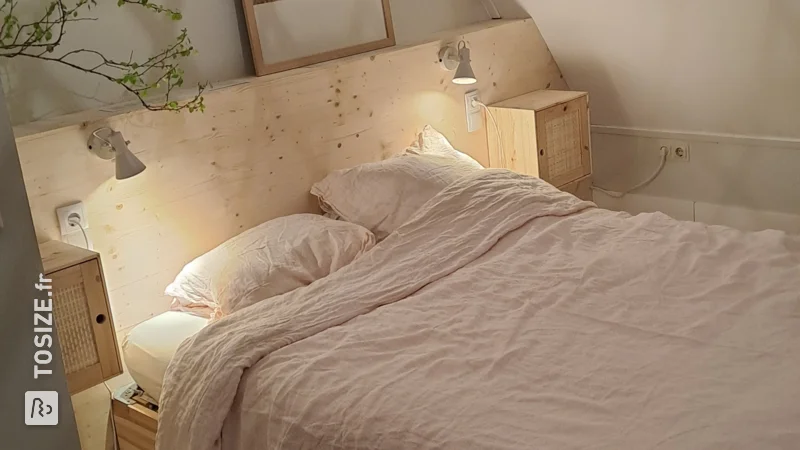
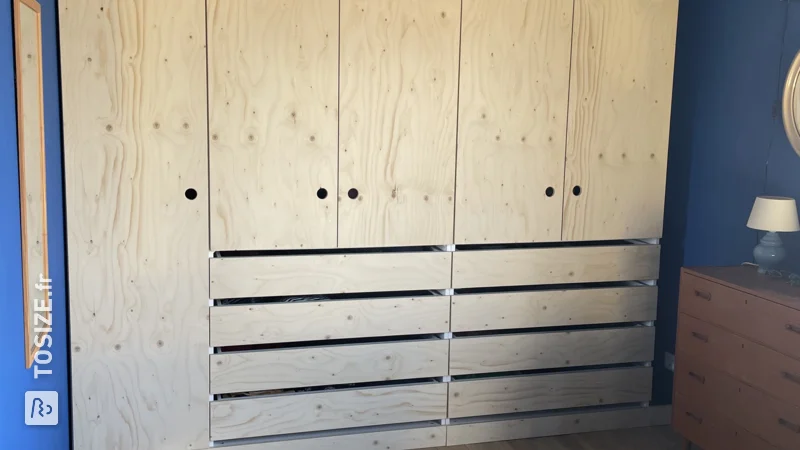
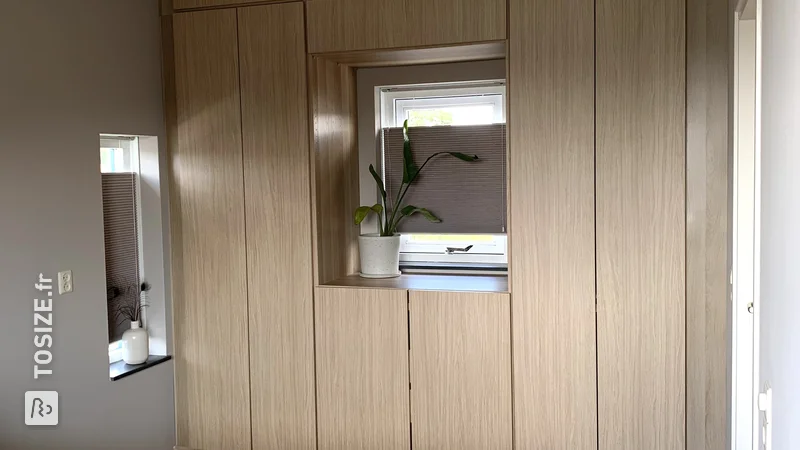
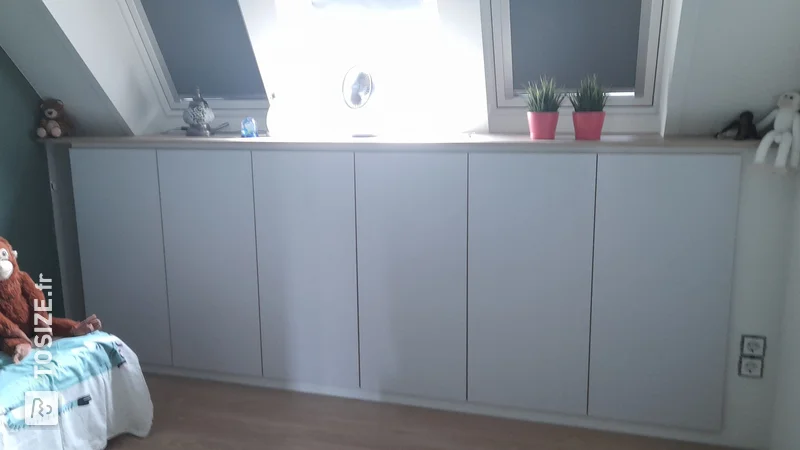
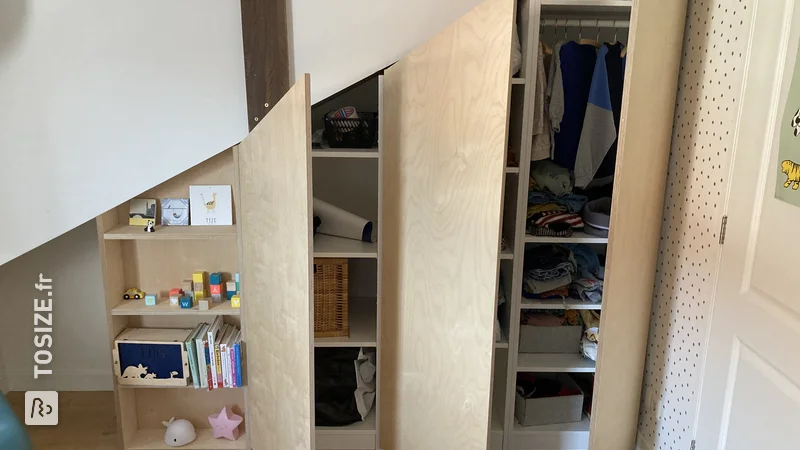
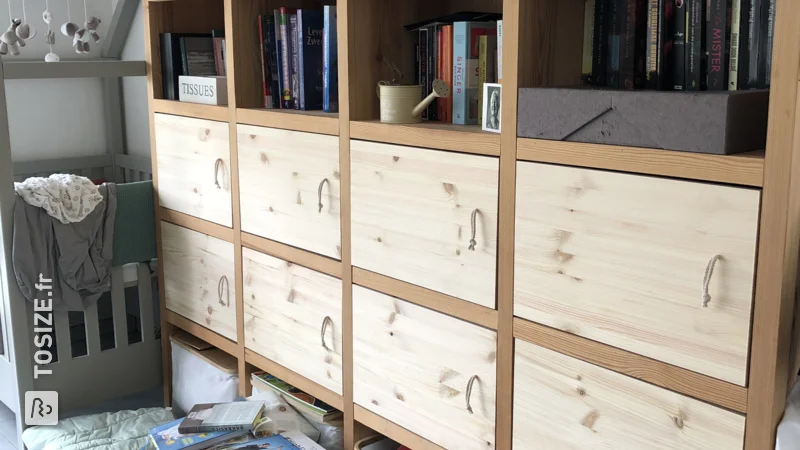
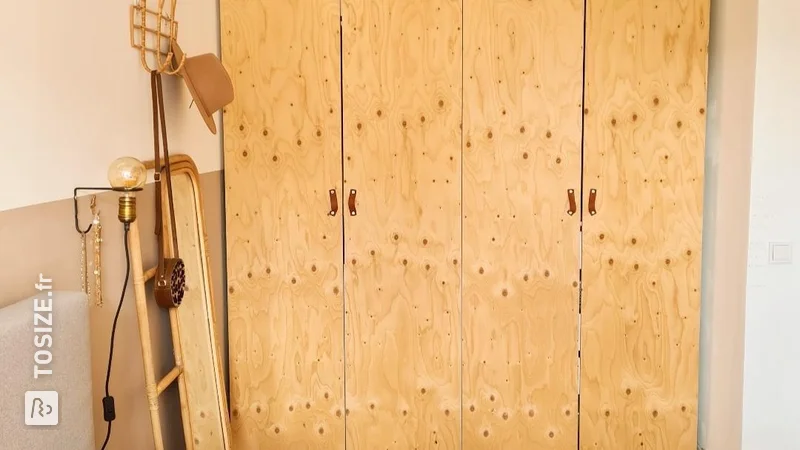
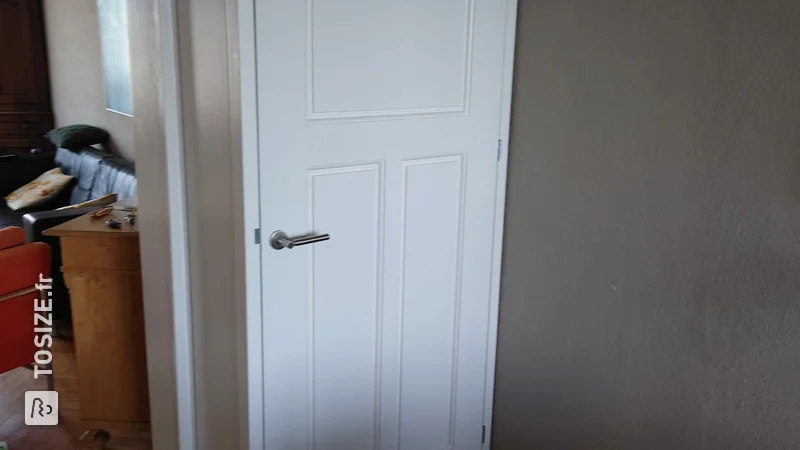
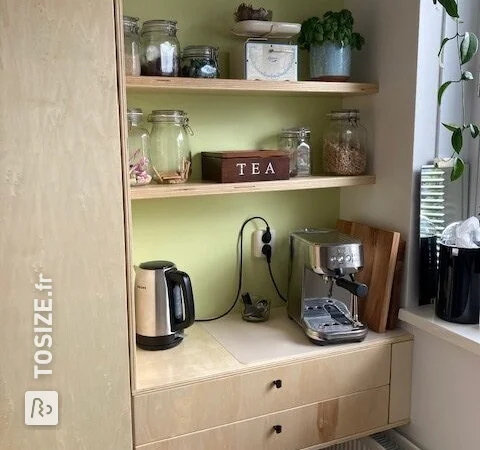
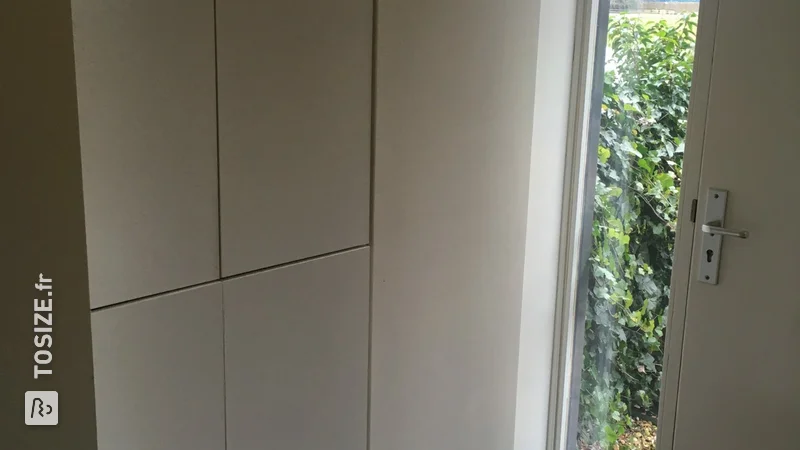
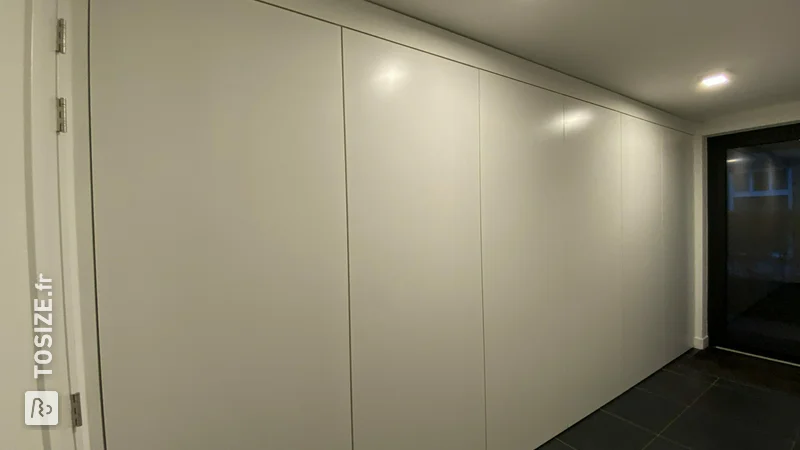
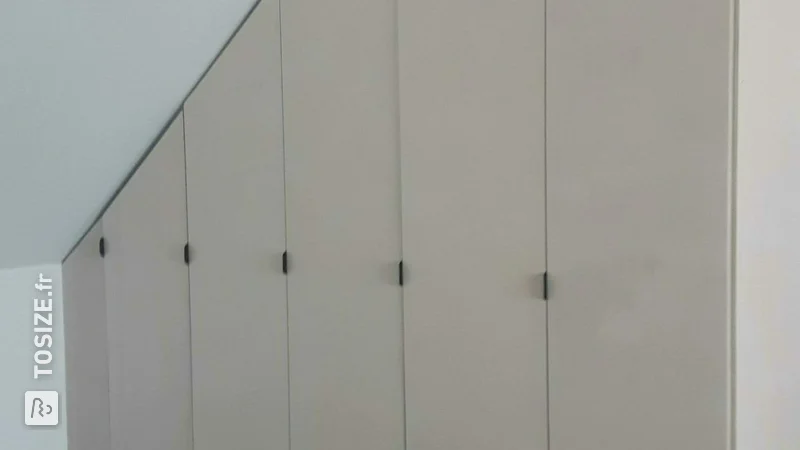
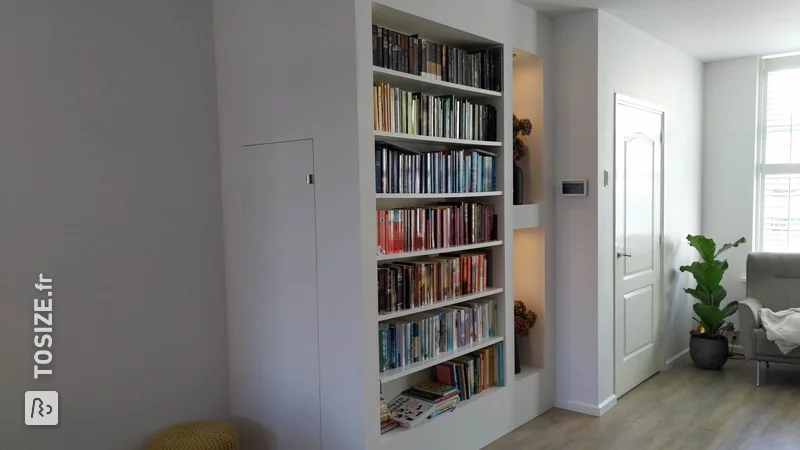
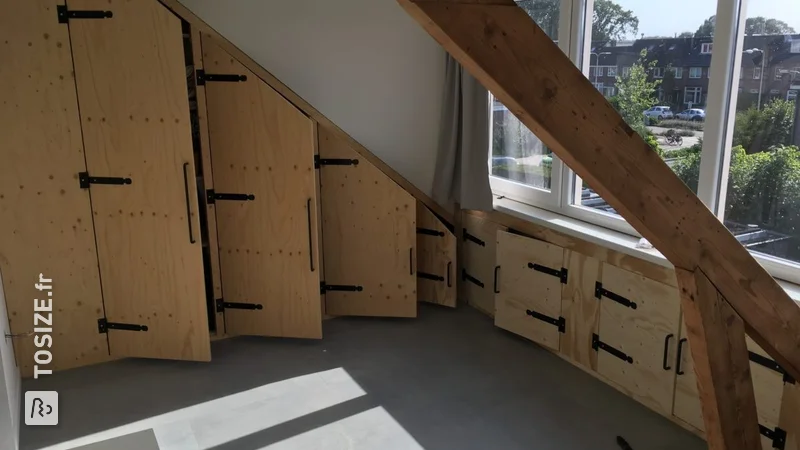
For our renovation of the attic floor, it was a great wish to install a built-in cupboard, extending from one side of the house to the other side of the house under a sloping roof. After requesting a few quotes, we discovered that the costs were high. We gained inspiration through various social media channels and used Ikea hacks, where we sawed and installed existing PAX cabinet parts to size. Due to the existing sloping roof parts, we could not use the standard doors from Ikea. We have therefore chosen to make custom MDF door panels, using the 18mm primed MDF panels from TOSIZE.fr. We had this cut to size with an excess length of 10cm and with an oblique angle, equal to the slope of our roof.
How I made this project
The construction steps are as follows:
- Placing and measuring the cabinets cut to size;
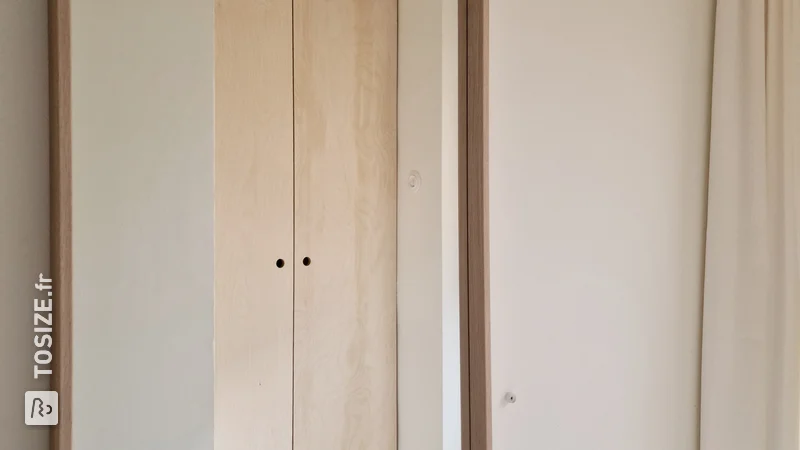
- Ordering the individual panels (future doors) with ten centimeters of excess length at the bottom, using the 'rectangle with beveled short side' to create the correct angle of inclination;
- Cut the supplied doors to theoretical size using a circular saw with guide rail (with 3mm clearance from the already installed plinth at the top). Of course, cover the ends of the plates with painter's tape to prevent fraying;
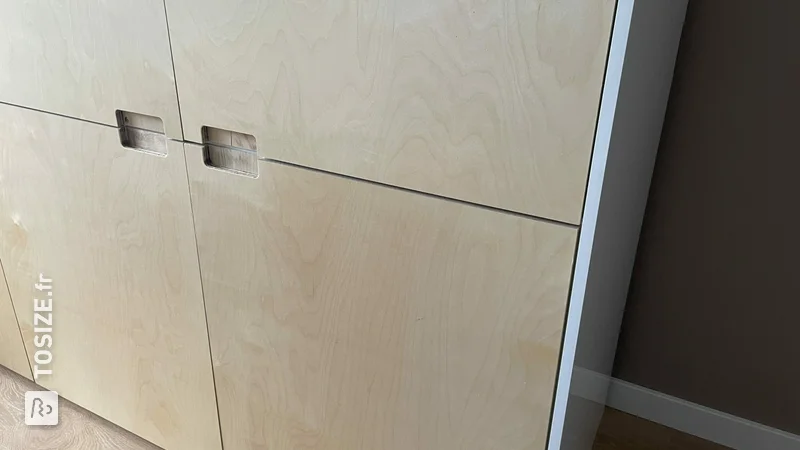
- Drilling the recesses for the concealed hinges with a suitable drilling jig;
- Hanging and adjusting all doors with the appropriate adjustment screws on the concealed hinges;
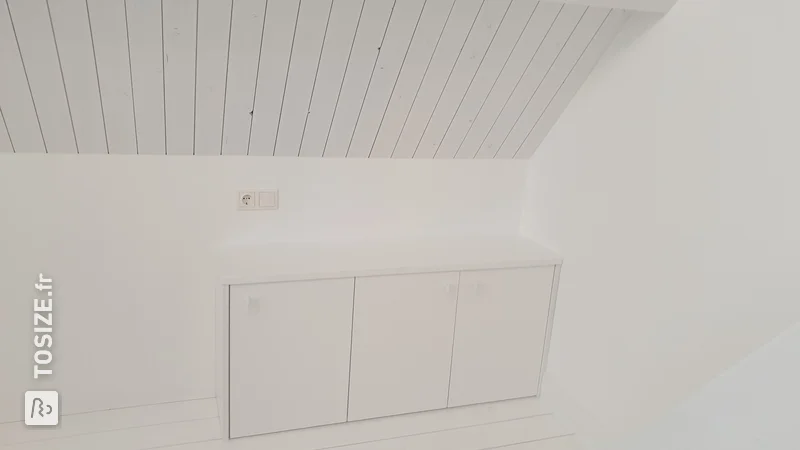
- Hold the pre-sawn/ordered bottom skirting board on a piece of subfloor and laminate floor (of the final floor) against the bottom of the doors to mark this size;
- Remove the doors from the cabinets and set out a new cutting line 3mm above the line just marked. Then shorten the doors with the circular saw;
- Sand the doors lightly with 180 grit sandpaper;
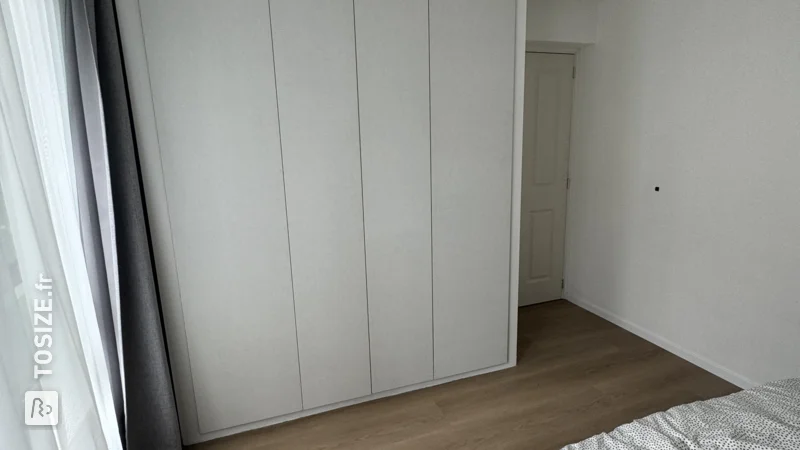
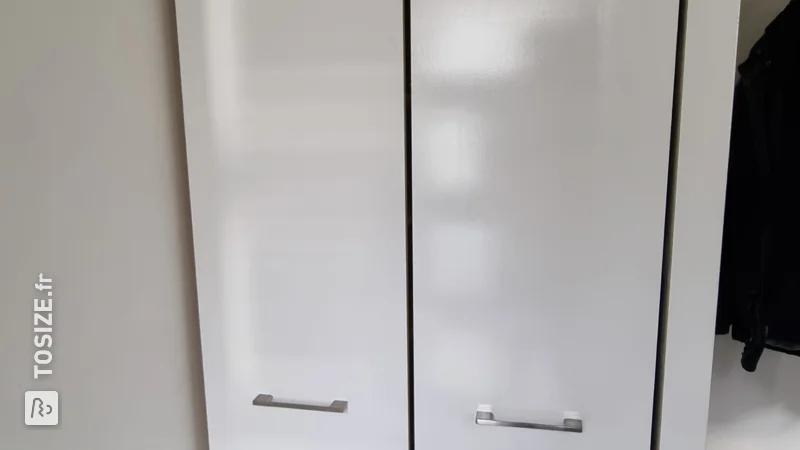
- Paint the doors with semi-gloss interior lacquer (two layers is sufficient, lightly sand between the two layers with 180 grit sandpaper);
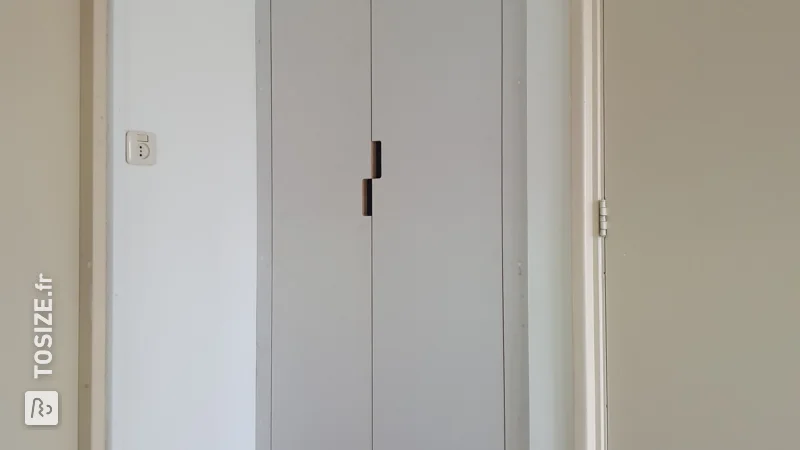
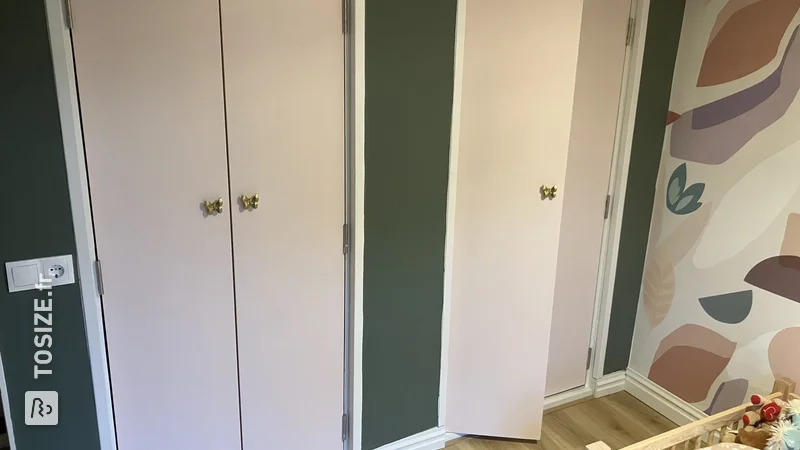
- Hanging the painted doors and providing handles;
- Final adjustment of the doors.
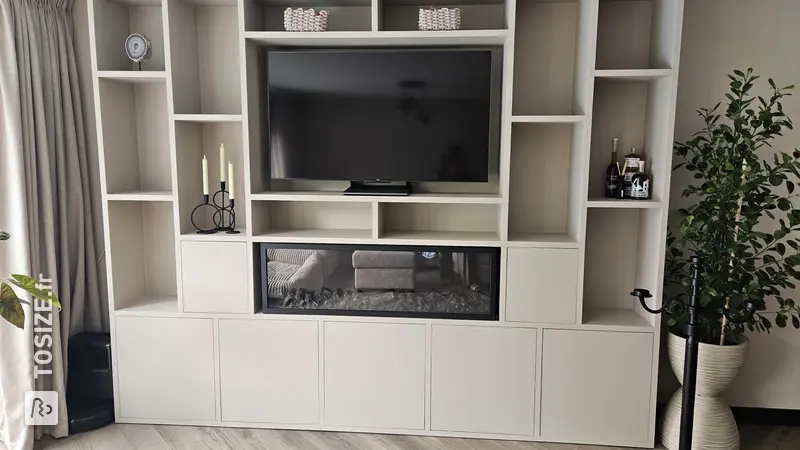
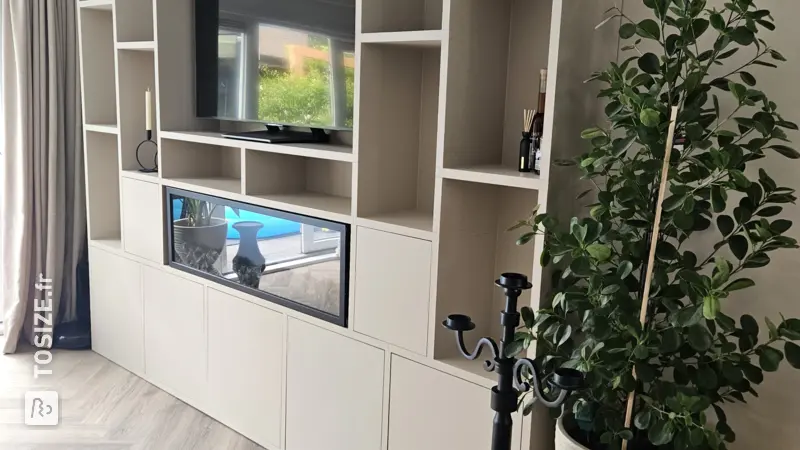
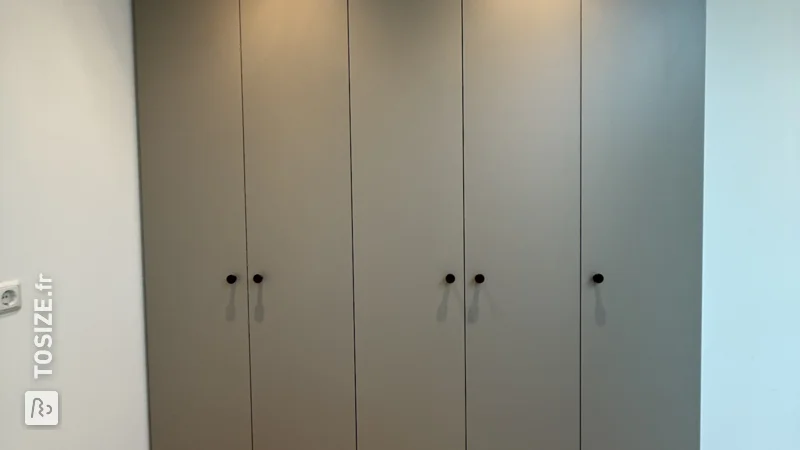
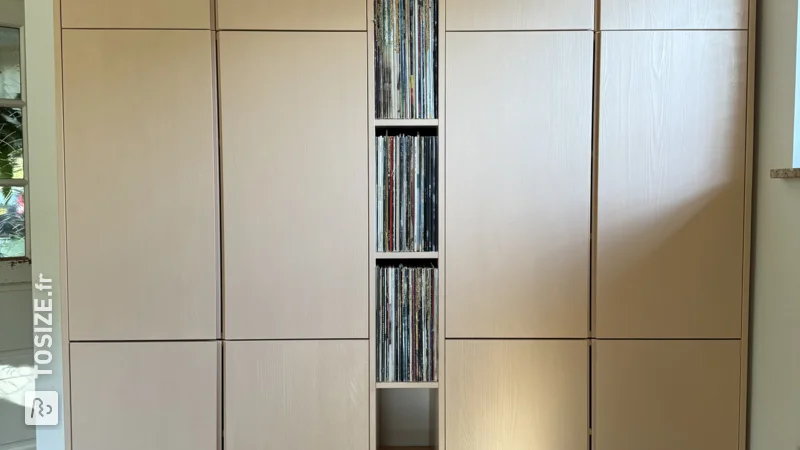
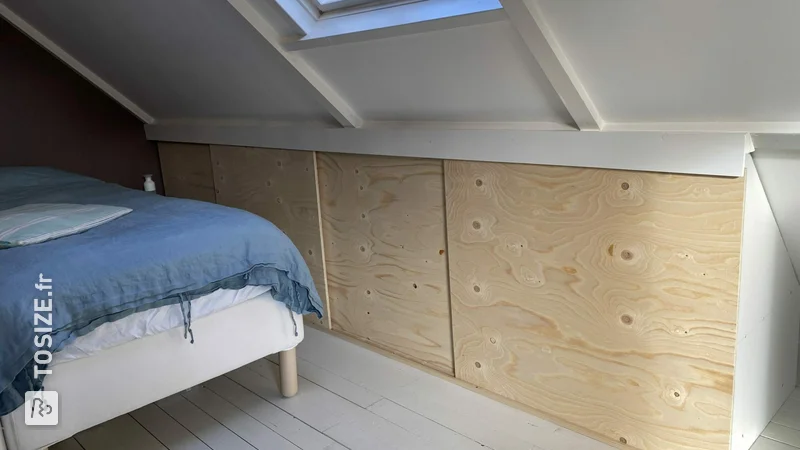
The end result? A unique built-in cupboard that not only offers extra storage space, but also gives a personal touch to your interior.
Dimensions of my DIY project
The maximum height of the cupboards is 200.0 cm , maximum width was 50.0 cm
Tip! Also check out our handy DIY tips!
What now?
Want to make this DIY project? Check out Gijs's saw list and complete your order easily.
600,82 €
All materials used
View all sheet materials