- TOSIZE.fr
- Do it yourself
- DIY Projects
Closing an Open Staircase with Risers, by Brian
Closing an Open Staircase with Risers, by Brian



Create this project yourself with sheet material cut to size by TOSIZE.fr!

Brian

Easy
2 minutes
Make your Open Staircase Safe and Stylish
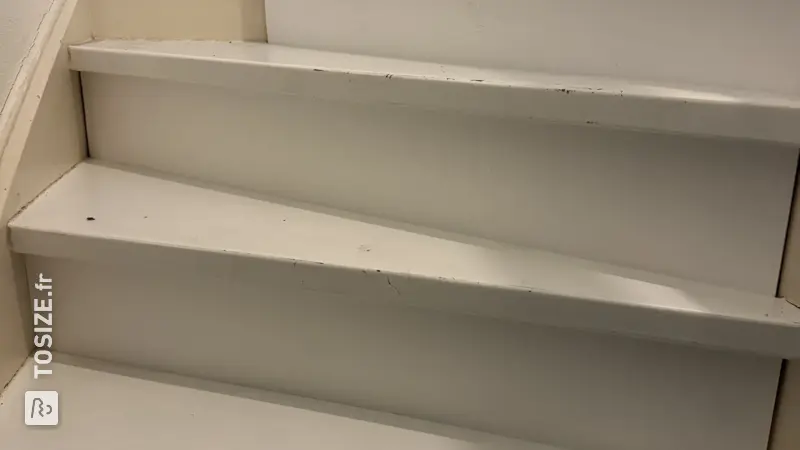
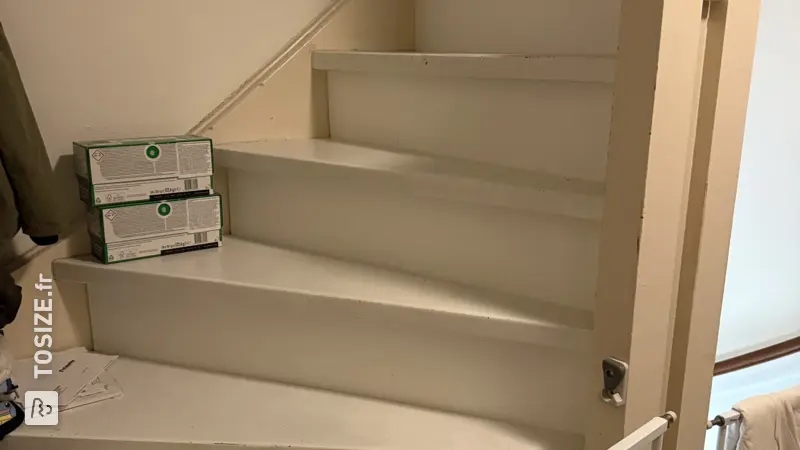
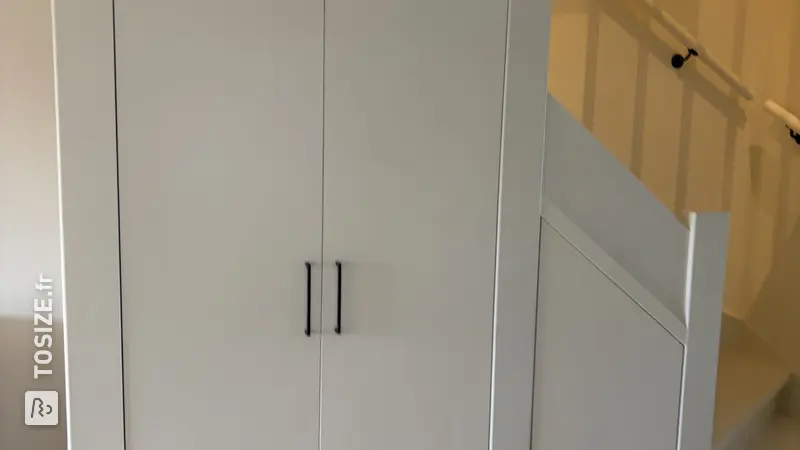
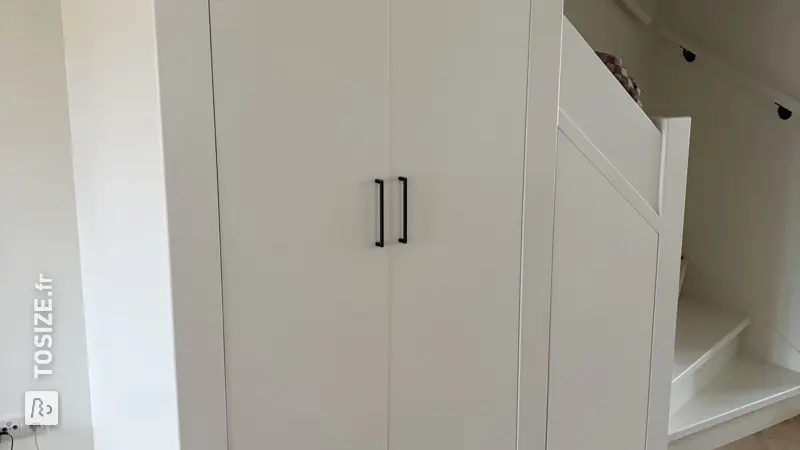
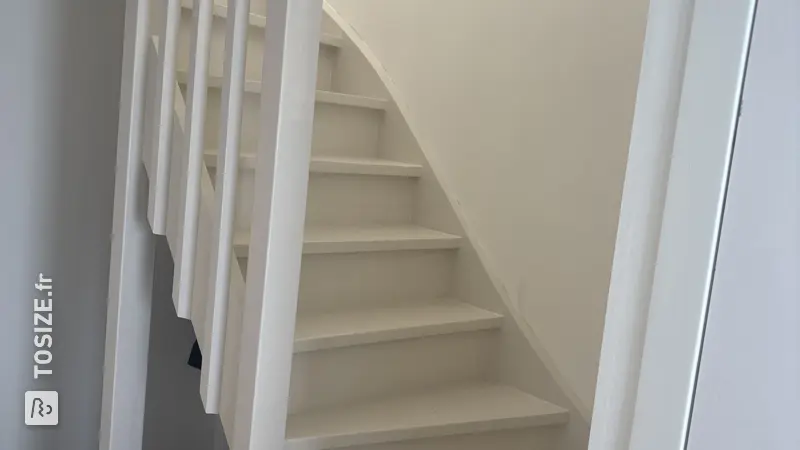
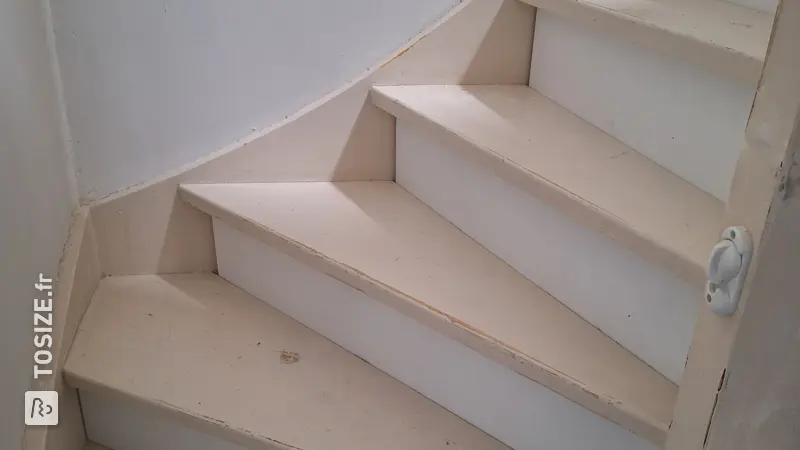
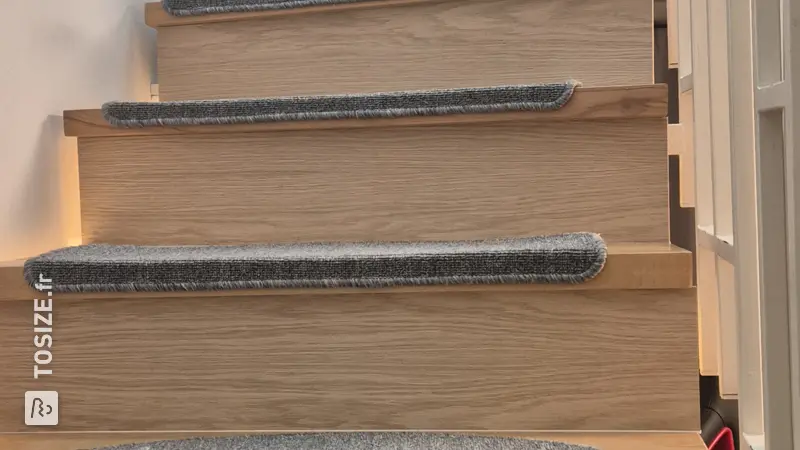
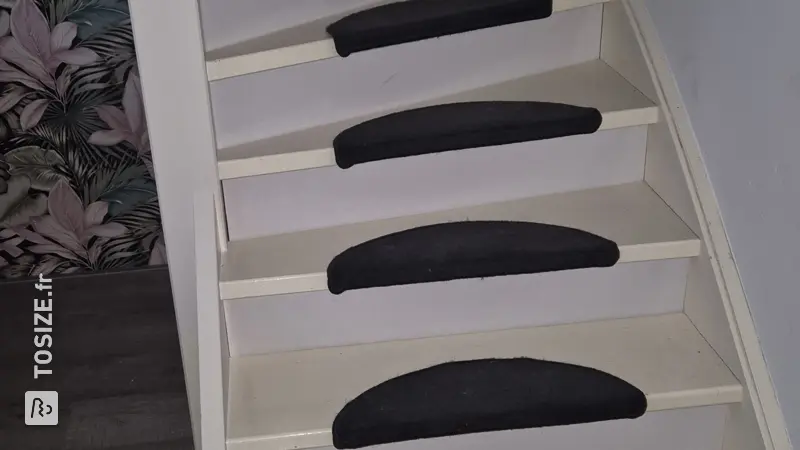
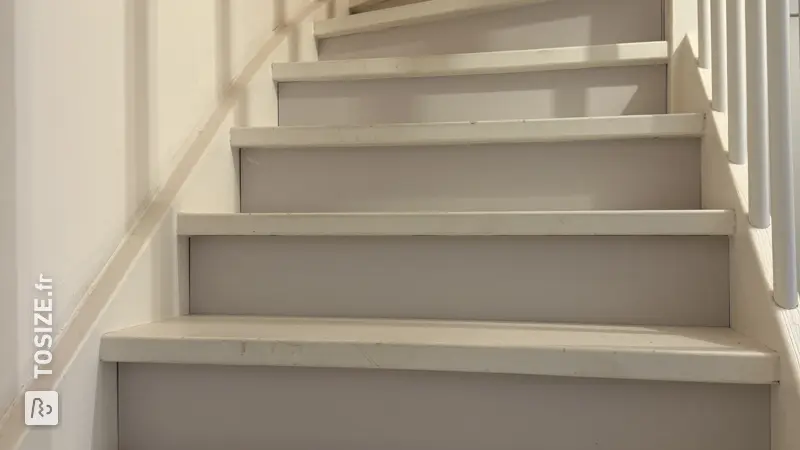
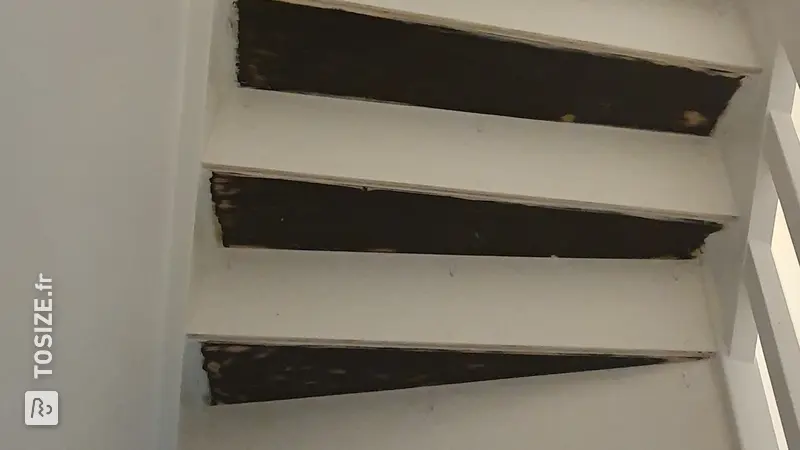
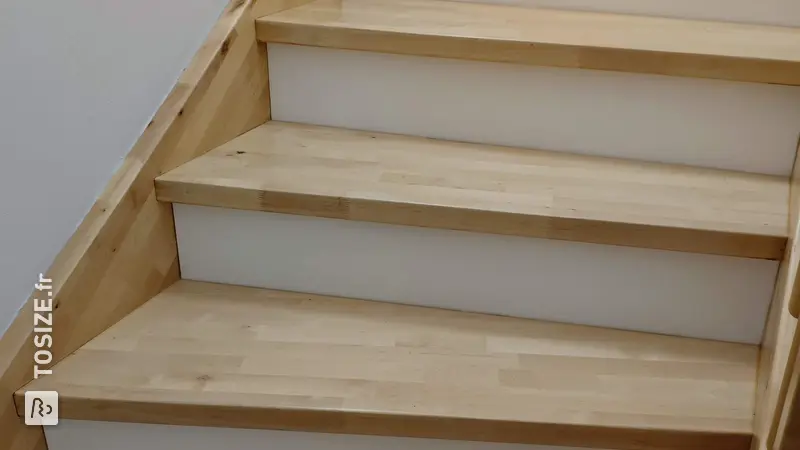
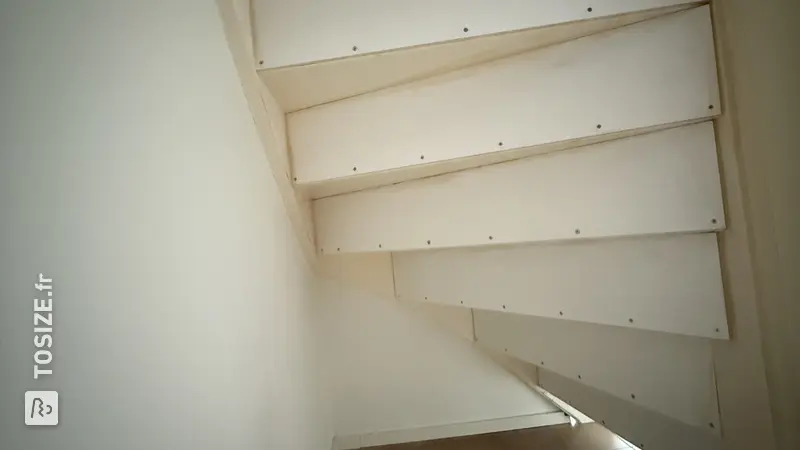
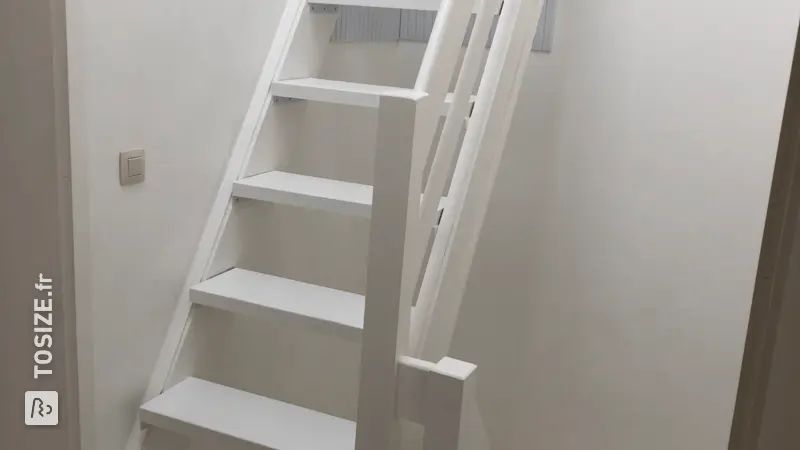
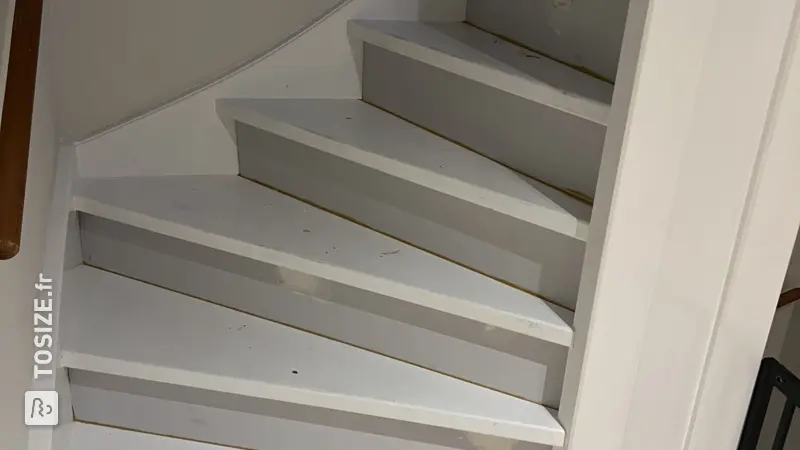
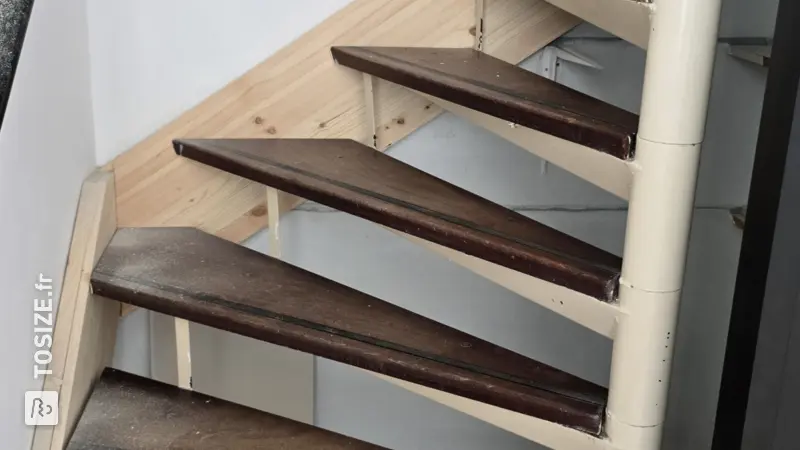
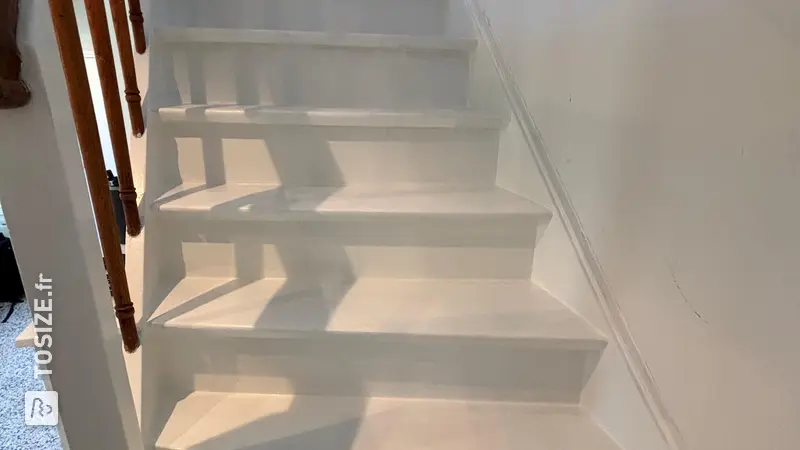
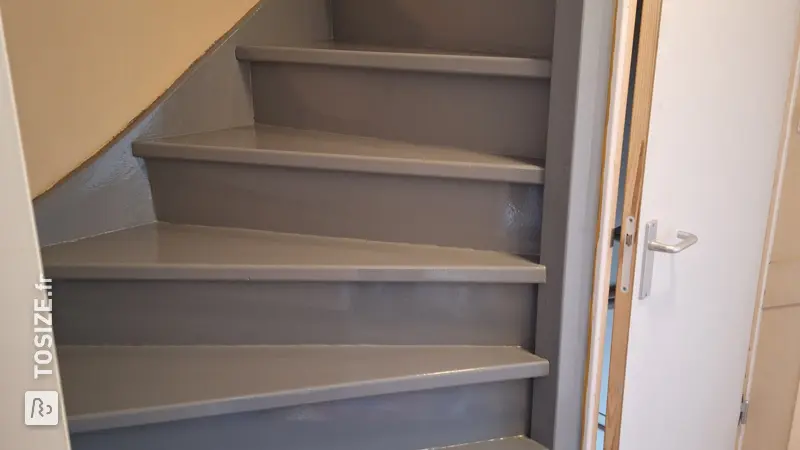
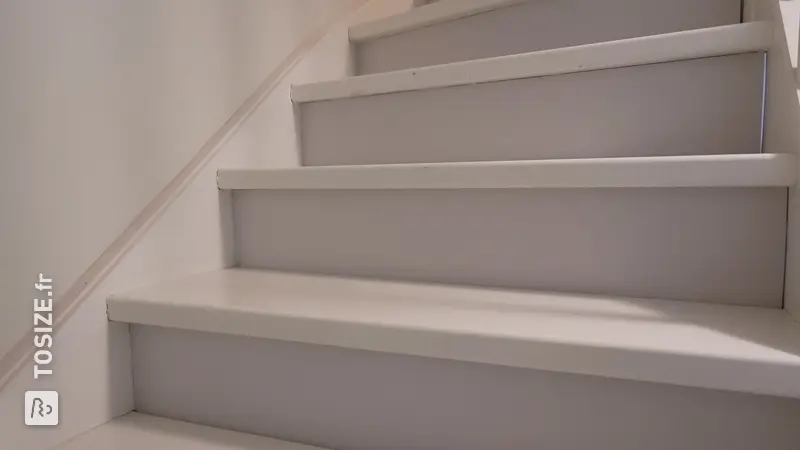
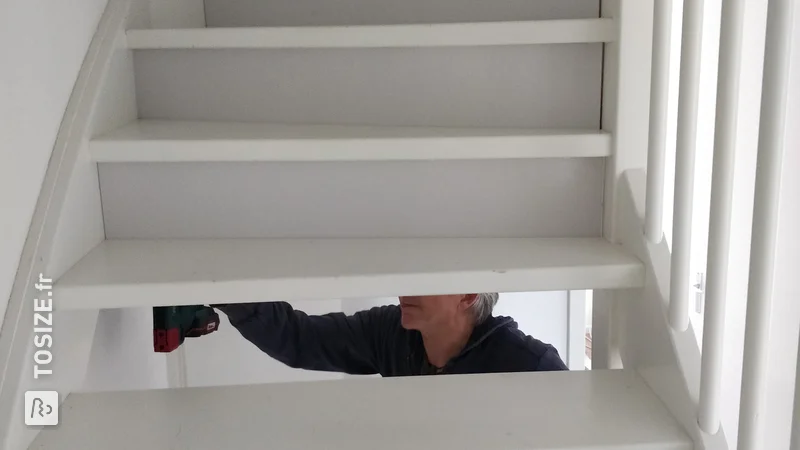
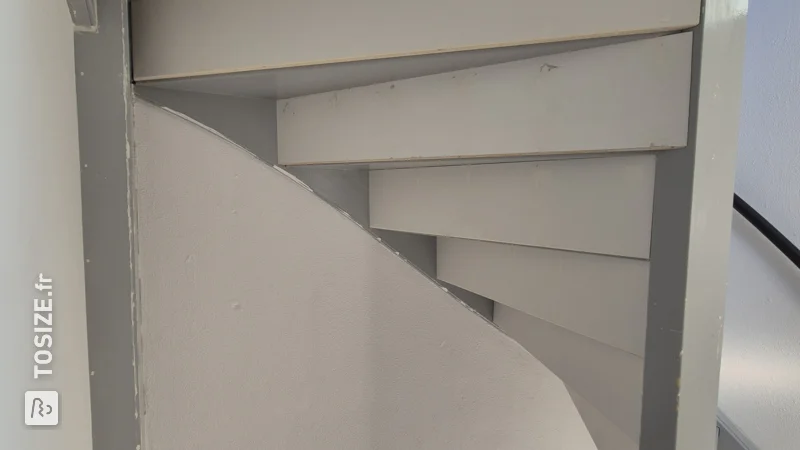
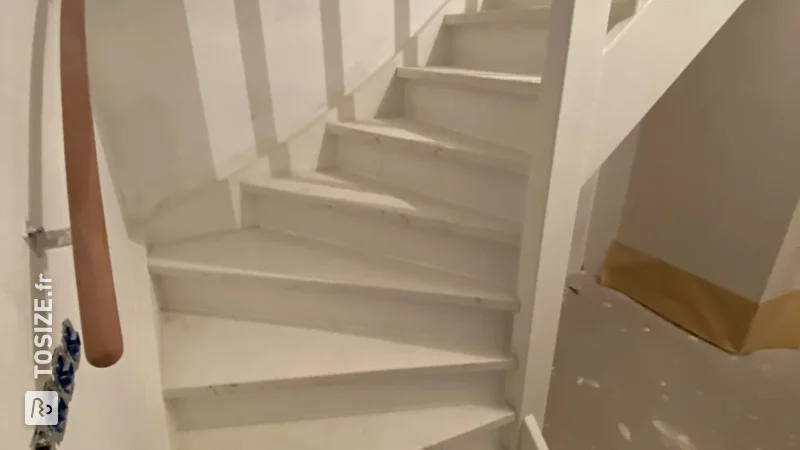
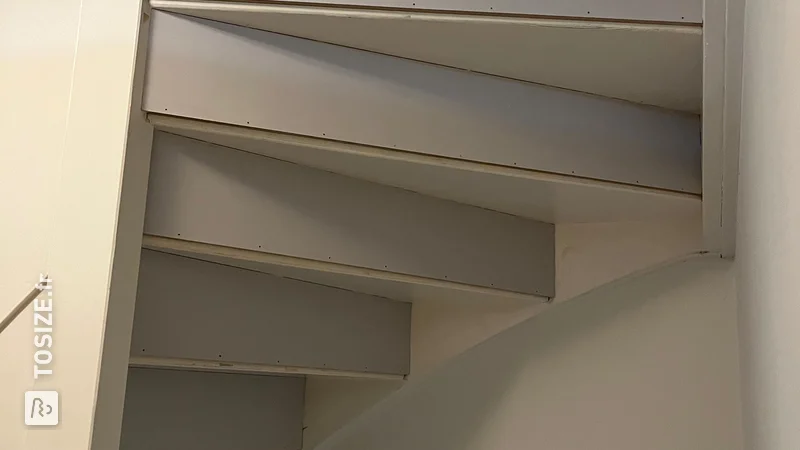
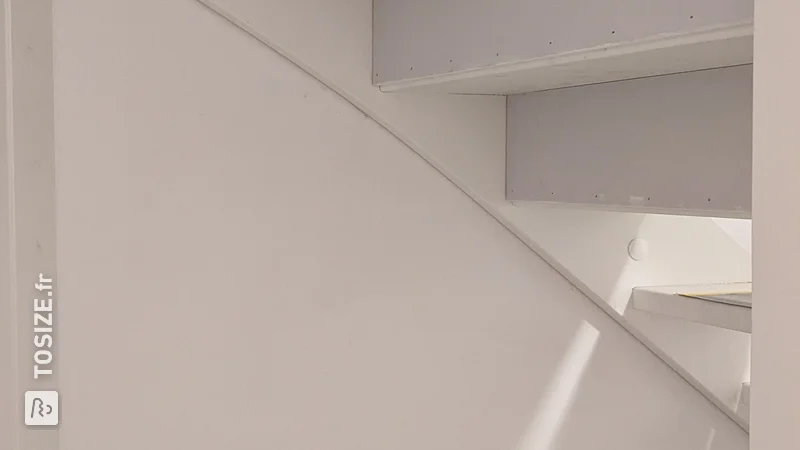
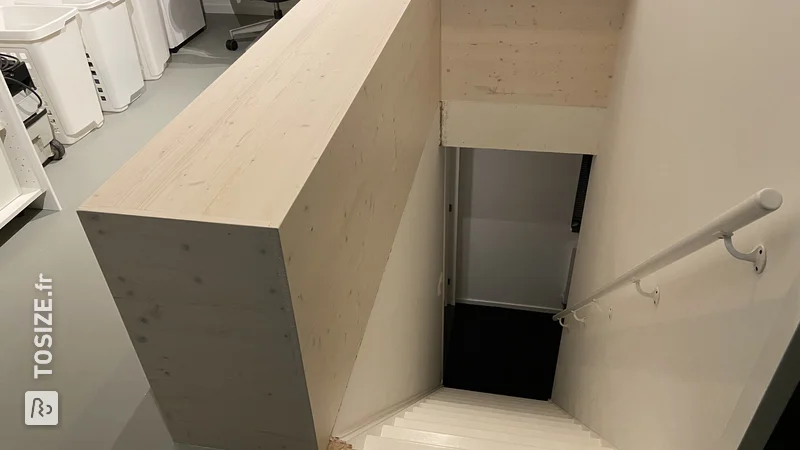
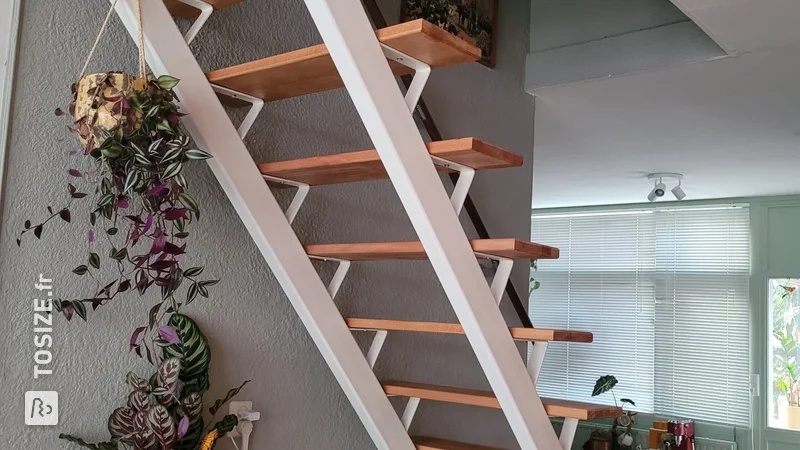
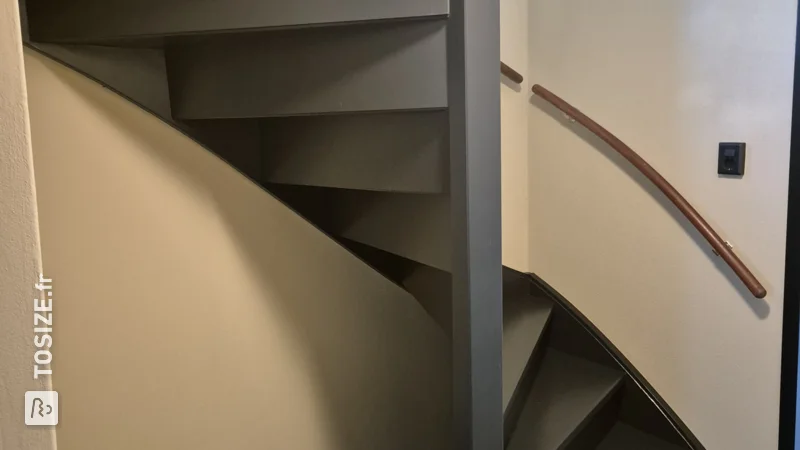
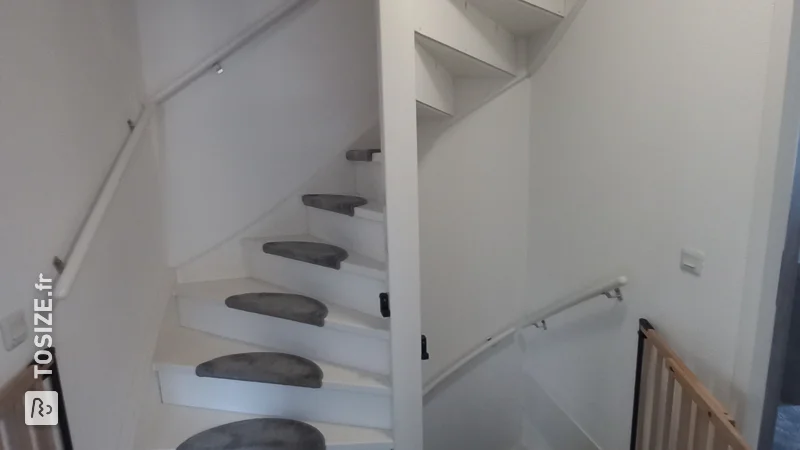
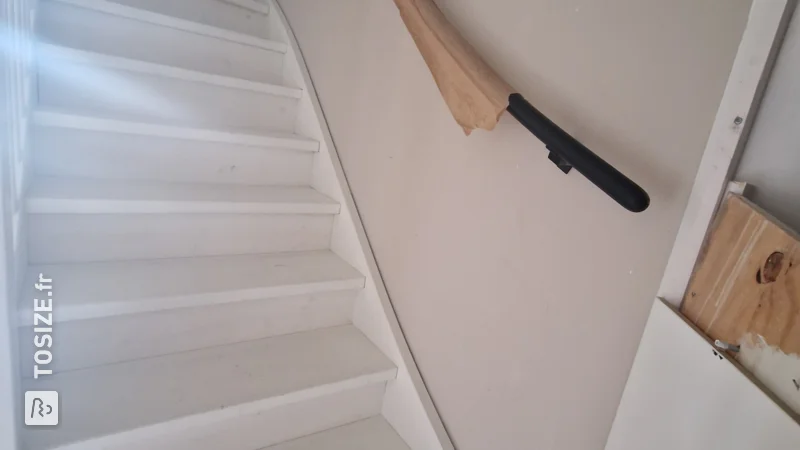
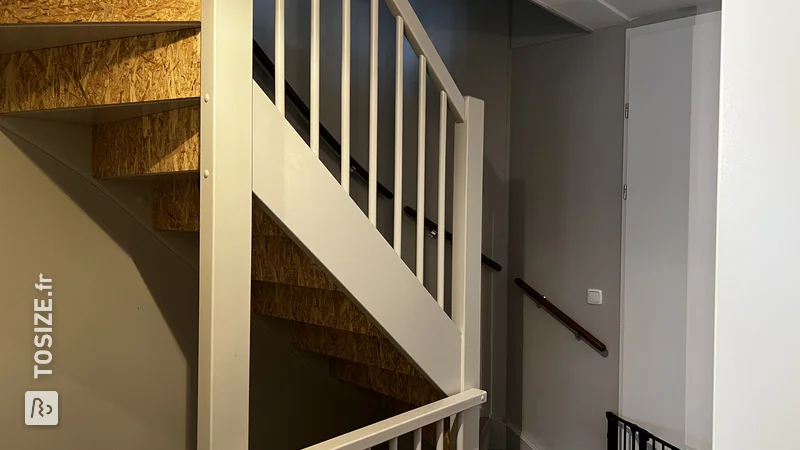
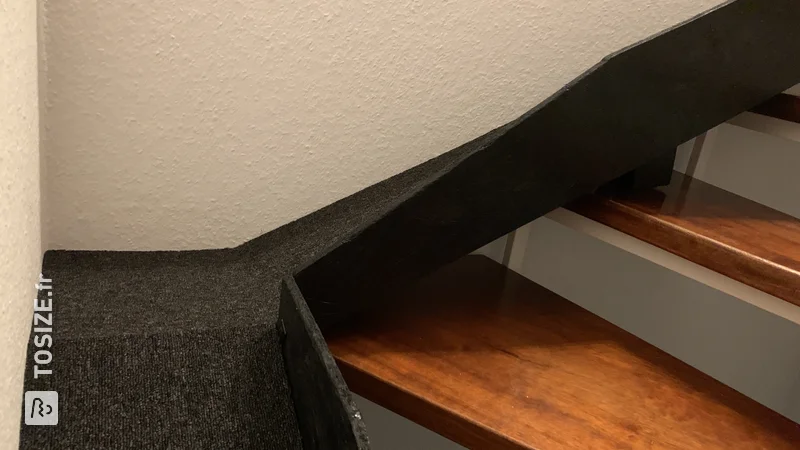
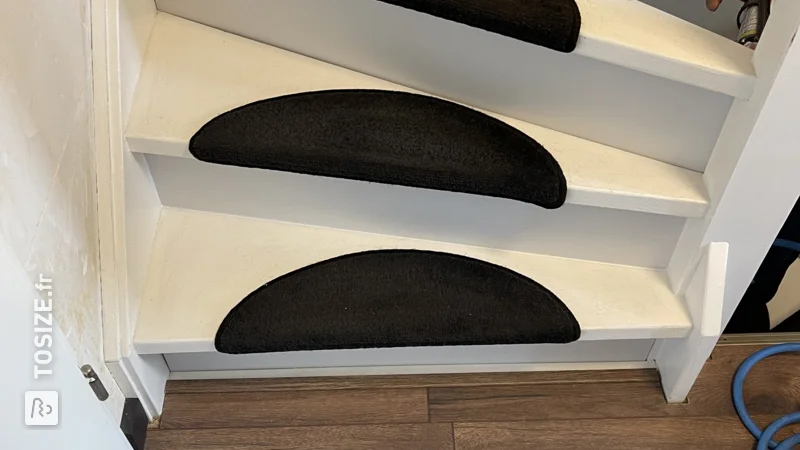
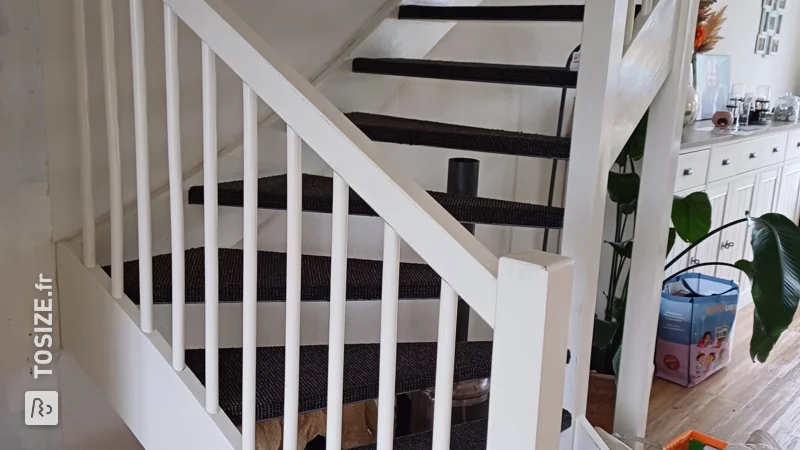
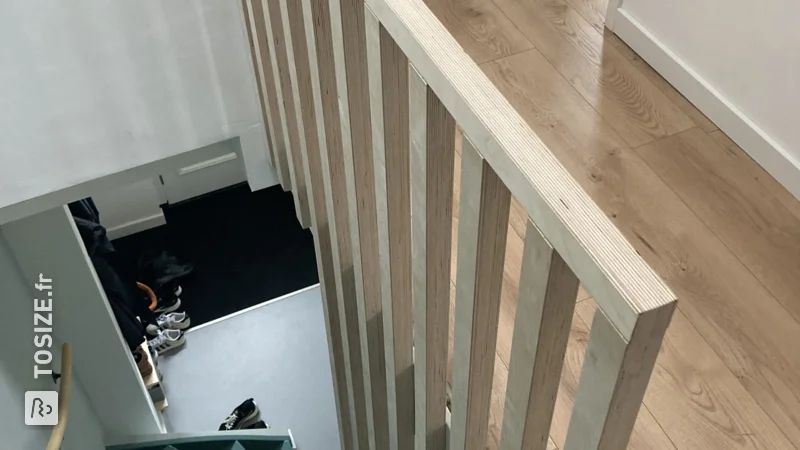
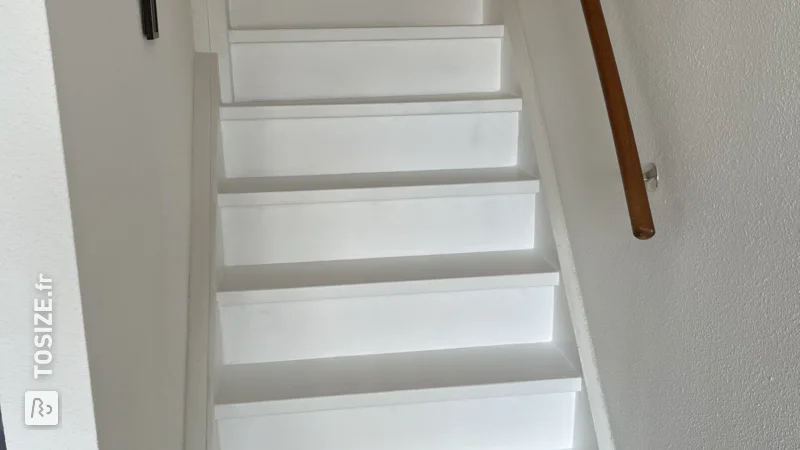
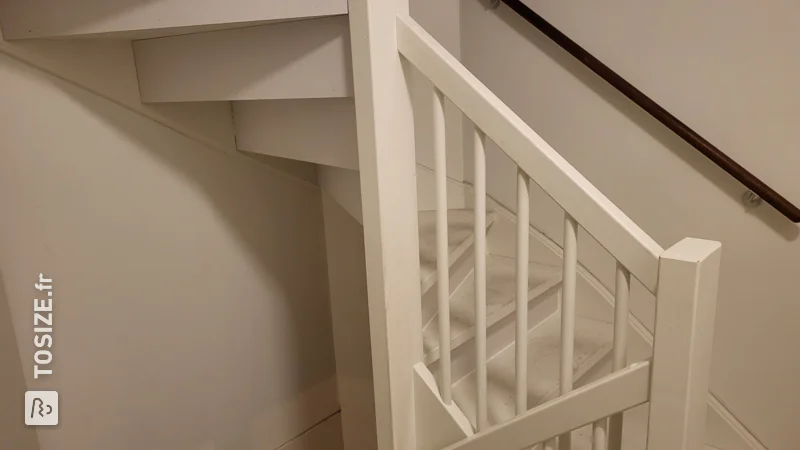
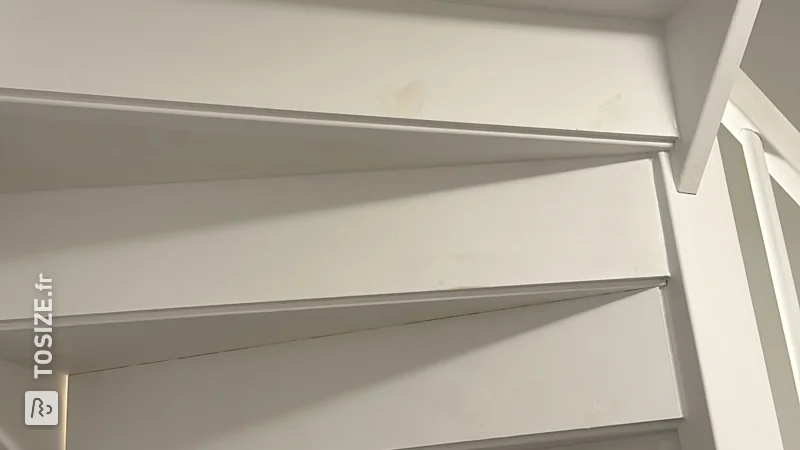
Brian has transformed his open staircase into a stylish and safe element in his home by closing it beautifully with risers. This intervention not only provides a sleek look, but also increases safety, especially for small children and pets.
Practical and Aesthetic
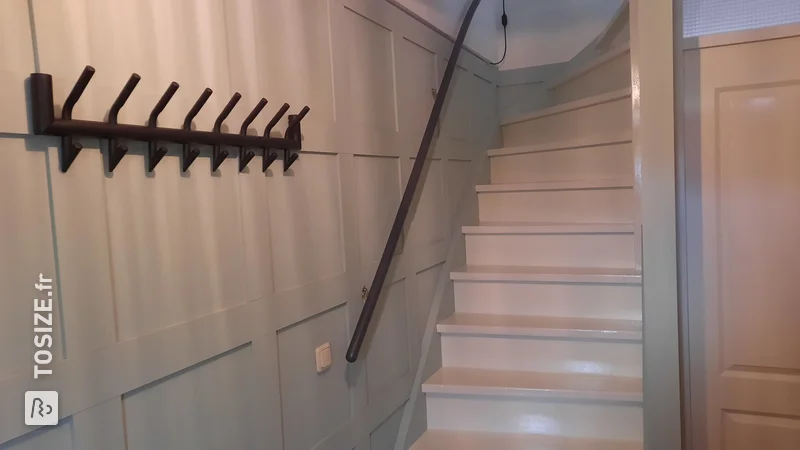
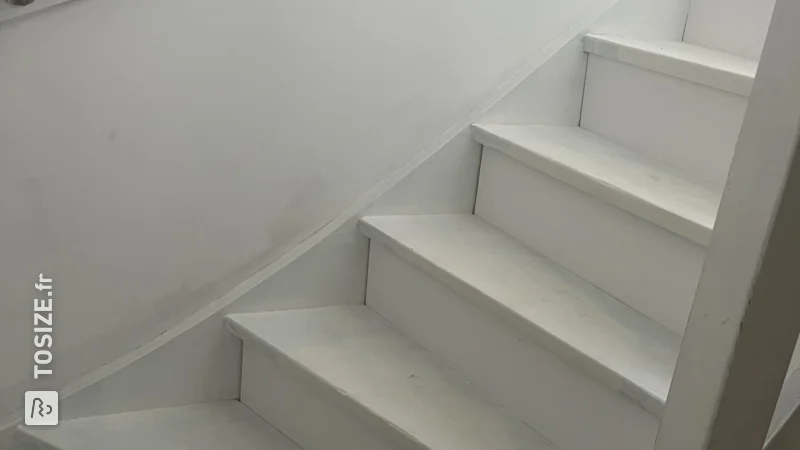
The project consists of a white wooden staircase with carefully made risers, executed in a fresh, bright color that fits perfectly with Brian's interior. The shape and construction of the staircase are neat and functional, with coated wooden planks that give a modern look and are easy to keep clean.
Why Bumpers?
By closing the stairs with risers you ensure that no items can fall down the steps. In addition, it gives a calm and neat appearance. Ideal for an entrance or hall where you want to make a good impression right away.
The Importance of Customization
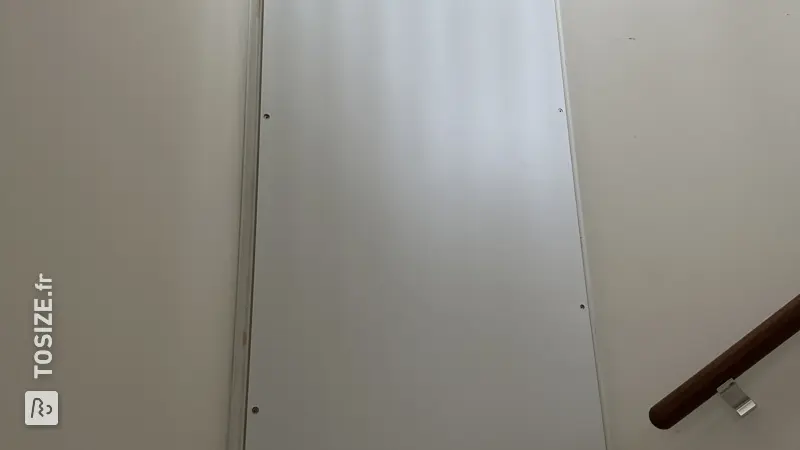
TOSIZE.fr played a crucial role in this project by cutting the wood to size. The precision work meant that Brian could focus on the finishing without worrying about whether the wood would fit. With the convenience of cut to size, he could work quickly and efficiently.
Scandinavian Style
The staircase exudes a Scandinavian style. This is due to the light colours and the simple, functional appearance. The whole creates a serene and inviting atmosphere in the house, which perfectly matches the desire for a minimalist design.
Advantages of
Brian chose Plywood Interior Poplar Primed. This wood is lightweight and easy to work with, making it ideal for DIY projects. The pre-painted surface makes painting easy, which ensures a perfect finish with fewer coats of paint.
Do you also want to close an open staircase and have you been inspired by Brian? Then start today and see what custom work can do for you!
DIY Tips for Beginners
Make sure your materials are well prepared before you start assembling. For example, use fine sandpaper to remove sharp edges. And don't forget: good preparation is half the battle!
Tip! Also check out our handy DIY tips!
Step by step guide
Preparation
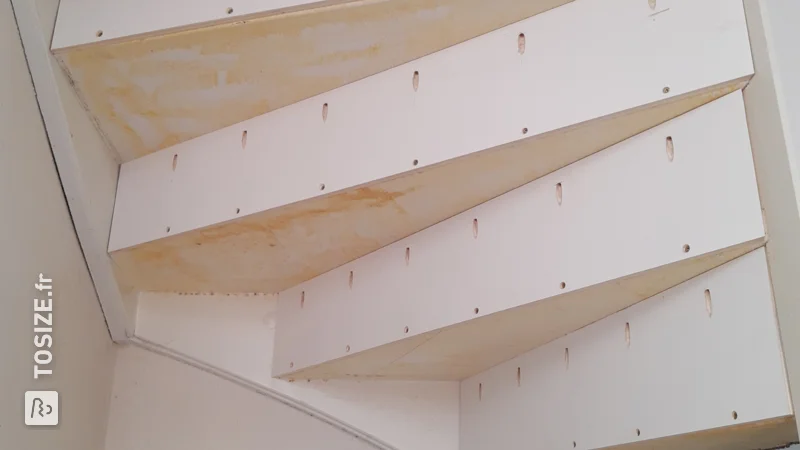
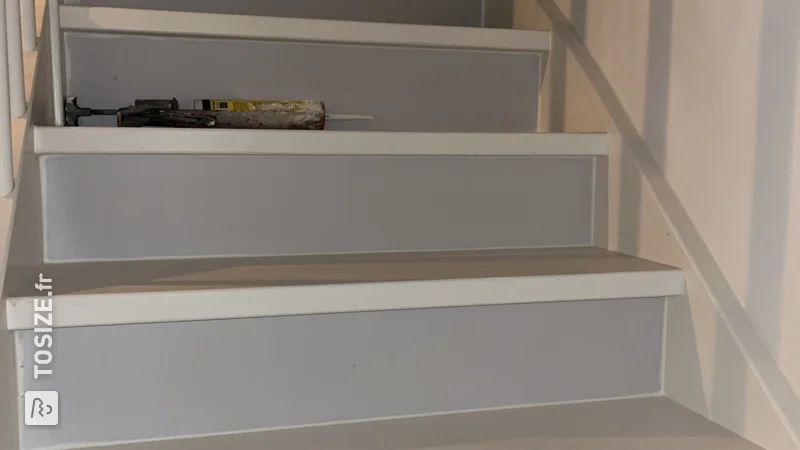
- First of all, measure all the bumpers neatly
Montage
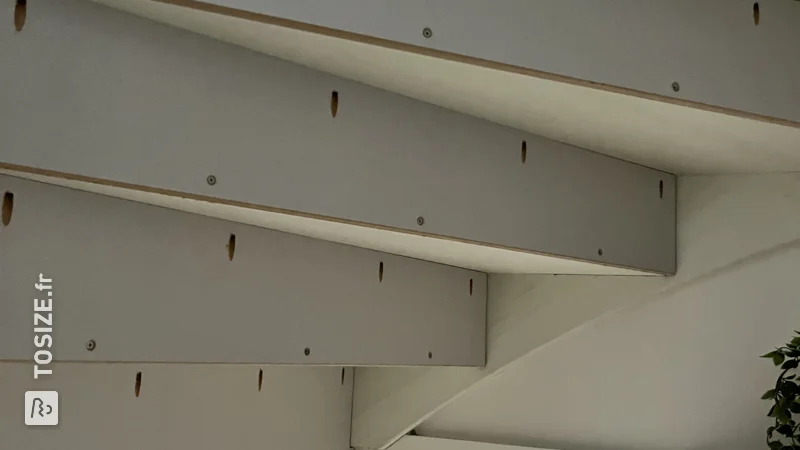
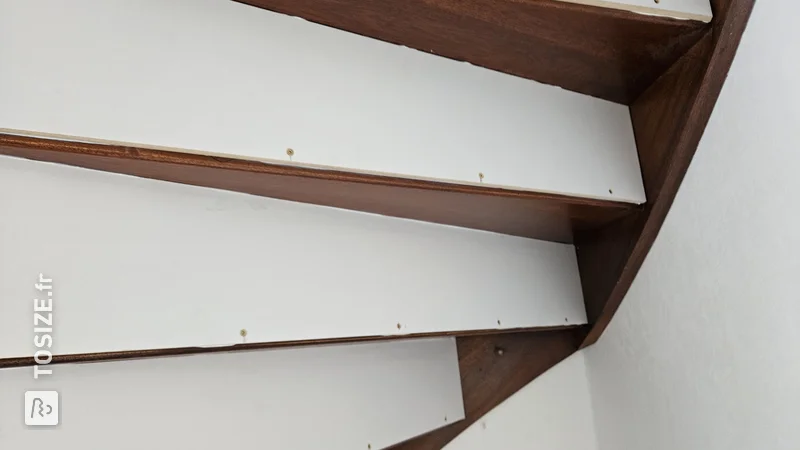
- Pre-drill the bumpers, apply sealant to the top, position and screw into place.
Finish
- Screw filling, sanding, caulking and painting.
What now?
Want to make this DIY project? Check out Brian's saw list and complete your order easily.
119,04 €
All materials used
View all sheet materials
My experience with TOSIZE.fr
Order
Delivery
General experience